Electrical rough-in is the stage after framing and before insulation and drywall, when wiring, electrical boxes, and the main system layout get installed while everything is still open and visible. Mistakes here can be expensive because fixes often mean reopening finished walls, delaying inspections, and redoing labor that was already paid for.
Here’s a practical electrical rough-in checklist that focuses on the items inspectors commonly look for and the details that prevent callbacks later. It is written for homeowners managing a remodel, builders coordinating trades, and anyone who wants a cleaner path to final electrical trim-out.

Start with a Rough-in Walk-through
Before focusing on individual rooms, do one full pass through the home with the electrical plan in hand and confirm the layout matches real framing. Rough-in electrical inspections happen when the work is complete but walls are still open, so missing boxes, misrouted cables, and poor workmanship are easy to spot at this point.
Take photos of every wall that has wiring, boxes, and special runs. If a question comes up after drywall, those photos can help confirm where cables run and where protection plates were installed.
Box Placement and Mounting
Boxes must land in the right place now, because drywall and cabinets will lock the geometry in. A box that is too deep can leave the finished device recessed. A box that is proud of the surface can force a sloppy cover plate fit.
During rough-in, check three things on every box:
- Mounting strength. Boxes should be solid and not rock when pulled.
- Depth planning. The front edge should match the finished surface thickness.
- Working room. Multi-gang switch boxes should have enough space for conductors and devices without crowding.
Also plan fixture support. Ceiling fan installations and heavier lights need boxes and mounting hardware rated for that load, so the fixture does not wobble or pull out later.
Cable Routing That Avoids Punctures
One of the fastest ways to fail a rough-in is running cable too close to the edge of framing members. The common protection rule is keeping bored holes at least 1 1/4 inches back from the nearest edge of a wood member to reduce screw and nail hits. When that setback is not possible, steel nail plate protection at least 1/16 inch thick is the typical solution.
Walk each stud bay and check any spot where a cable crosses a notch, runs along a stud face, or passes through a shallow hole. This is also the time to remove any sharp staples, broken clamps, or torn cable jackets that could become a failure point later.
Support and Fastening for NM Cable
Neat wiring is not just about looks. Support spacing affects strain on terminations and reduces damage from movement.
A common NM cable requirement is support at intervals not exceeding 4 1/2 feet and securing within 12 inches of each box, cabinet, or fitting where the cable enters. Staples and straps should be snug but not crushed into the jacket, since compression can damage insulation over time.
A quick check that catches most problems is to lightly tug the cable near each box. If it slides easily or droops across bays, add proper support before inspection.
Box Fill and Conductor Crowding
Overfilled boxes create heat and make device installation harder. Box fill is one of the easiest mistakes to make because it is not obvious until every pigtail, device, and ground is folded back into place.
A practical sizing reference is conductor volume allowances. For 14 AWG conductors, a common volume allowance is 2.0 cubic inches per conductor, and for 12 AWG conductors, it is 2.25 cubic inches per conductor. When a box is too small, the fix is usually simple right now: swap to a deeper box or a larger multi-gang box before the wall closes.
When checking box fill, look closely at:
- Kitchens with multiple countertop cables.
- Three-way switch boxes with travelers and neutrals.
- Bath vanity boxes where GFCI wiring and lighting share space.
- Any location where multiple home runs converge.
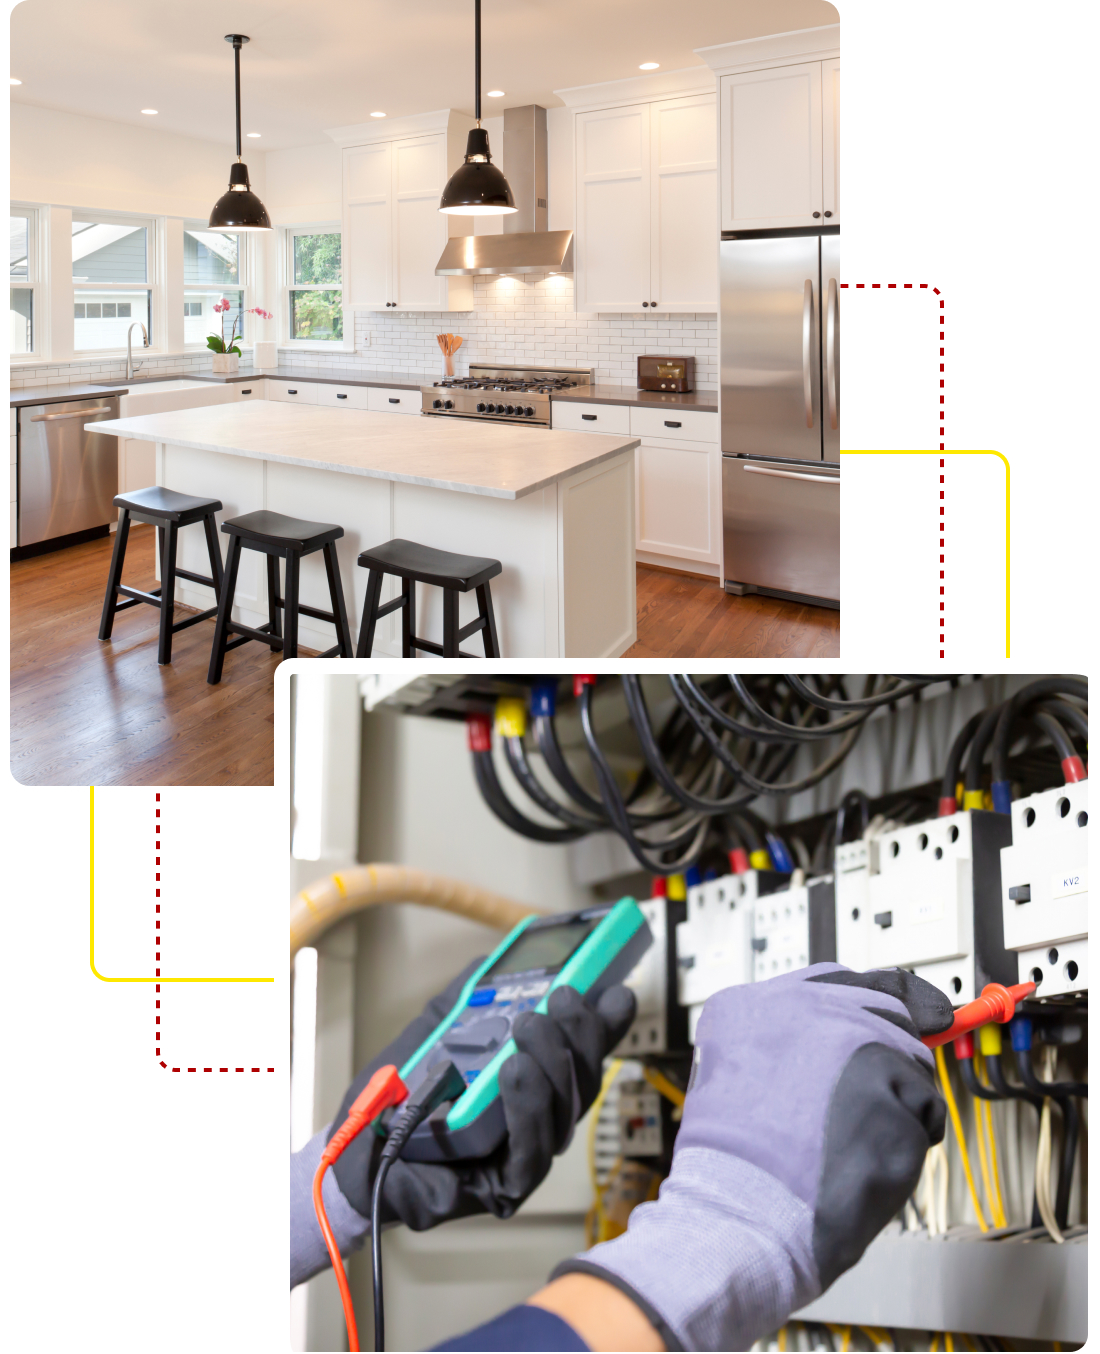
Panel Prep and Circuit Planning
Rough-in is the best time to confirm the system has room to grow and the circuit layout matches real use. At this stage, the panel is typically placed and wiring is run through framing in preparation for inspection, even if final device trim-out is later.
Focus on two practical items. First, dedicated circuits for higher-load areas like kitchens, laundry, garage tools, and HVAC support a smoother final build and reduce nuisance trips. Second, labeling and organization at the panel area saves time during trim-out and makes future service far easier. Labeling wiring with circuit numbers and amperage during rough-in checks is a common expectation.
Plan for GFCI and AFCI Protection Early
Protection devices are often installed at final trim, but the wiring design and breaker space should anticipate them at rough-in. This is especially true if the home uses a panel brand or layout with limited breaker positions.
For dwelling units, GFCI protection commonly applies in locations such as bathrooms, garages, outdoors, and laundry areas. AFCI protection is also widely used in dwelling unit circuits, and manufacturers summarize AFCI requirements as part of modern NEC cycles that cover many living spaces.
Rough-in actions that help later:
- Identify every receptacle in wet or damp locations and plan where GFCI protection will be provided.
- Keep lighting and receptacles organized by room where practical so AFCI and GFCI breaker choices stay simple.
- Avoid mixing incompatible loads on the same circuit, since it can create nuisance trips and troubleshooting headaches.
Book a Residential Electrician in Houston, TX
Planning a remodel, upgrading a panel, or fixing repeated breaker trips before drywall goes up? At Aaron’s Electrical Service, we help Houston homeowners and property managers with licensed, insured residential electrical work, from switch and outlet repairs to inspections, service upgrades, EV charger installs, generator work, and smoke detector installs.
Expect friendly scheduling, on-time arrival, clear communication, and an accurate estimate with no hidden fees, backed by a 100% satisfaction guarantee. Contact us today to schedule service or request an estimate, and get your rough-in questions answered before small issues turn into expensive rework.