

Quick Summary
Flickering lights or a fixture that won’t turn on often mean wiring trouble. A multimeter helps you check for voltage, find loose connections, and spot damaged wires before they become a fire risk. This guide shows you how to test ceiling light wiring with a multimeter safely and effectively. We always recommend calling a licensed electrician if you feel unsure at any step.
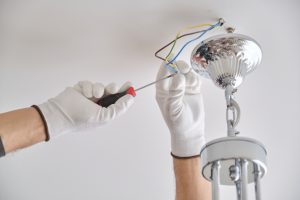
A ceiling light that flickers, hums, or won’t turn on can be frustrating. Often the problem is loose wiring, a bad socket, or voltage issues. Learning how to test ceiling light wiring with a multimeter is a simple skill that helps you diagnose problems yourself.
For professional electrical panel installation, our team is ready to help when a full upgrade is needed. In this guide, we will walk you through the process step by step, with safety as our top priority.
Safety First: Turn Off the Power and Gather Your Tools
Before you touch any wires, turn off the power at the breaker panel. Switch off the breaker that controls the ceiling light. Then use a voltage tester on the wires to confirm no electricity is present. Never skip this step.
You will need a digital multimeter, a voltage tester, a screwdriver, and wire nuts. Make sure your multimeter is in good condition with no cracks on the leads or body.
Set Up Your Multimeter Correctly
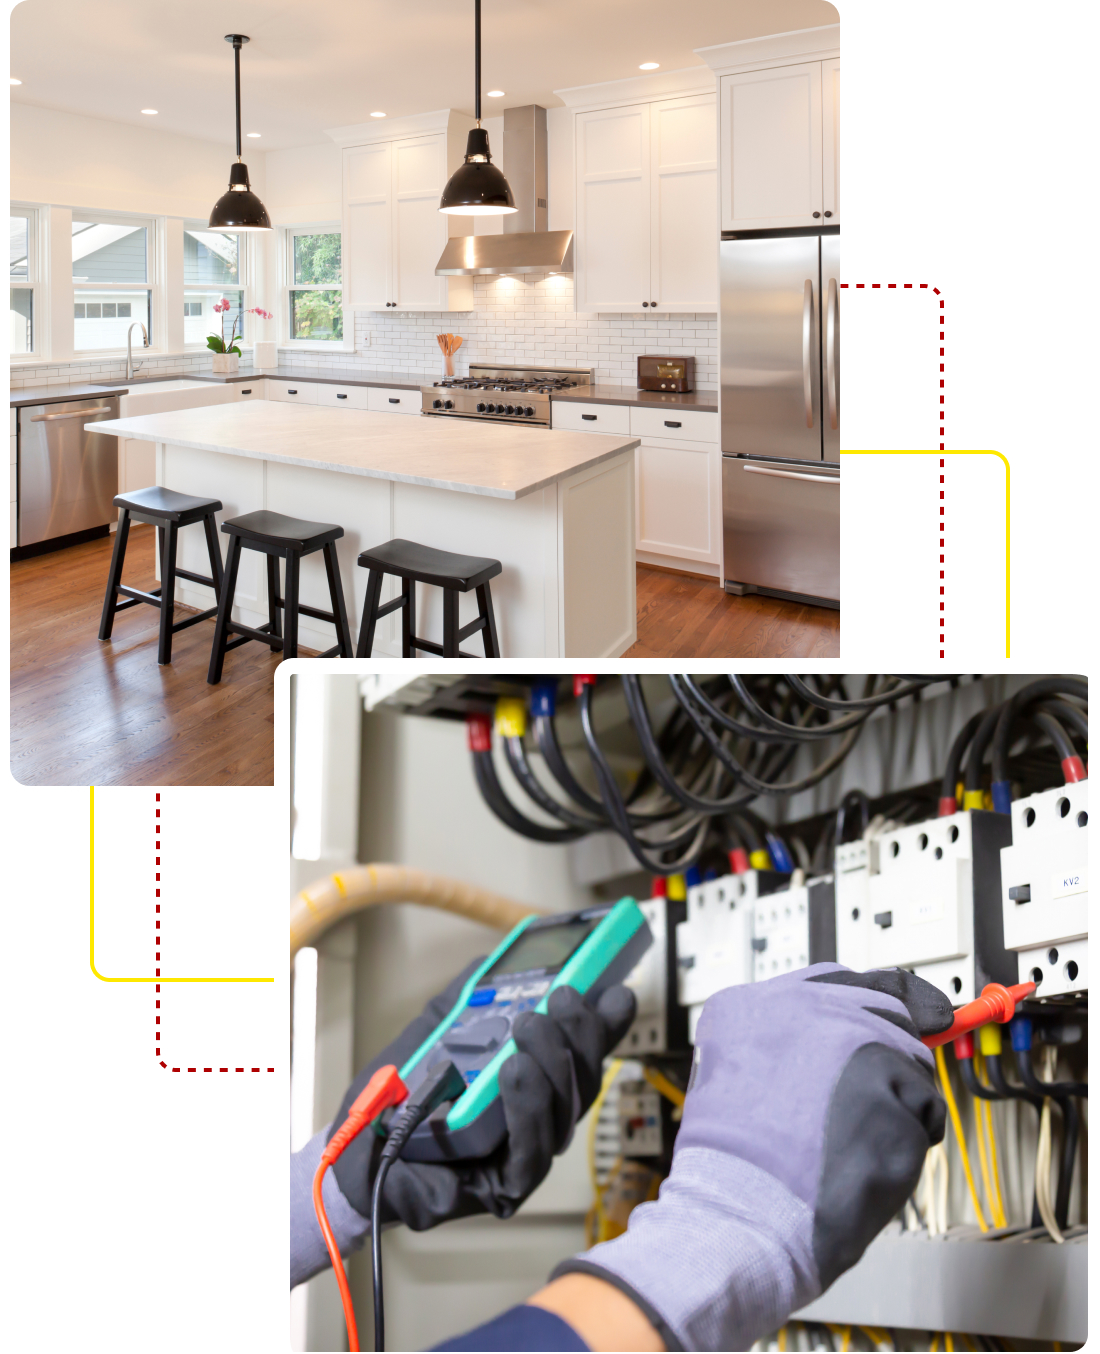
First, turn the dial on your multimeter to the AC voltage option. This is often marked with a V and a wavy line (∼). For a typical home in the United States, pick a number a bit above 120 volts. If your meter has a fixed scale, choose 200 volts or higher. Plug the black wire into the port labeled COM.
Plug the red wire into the port labeled with V and maybe an ohm symbol. Then touch the two metal tips together. The meter should show a small number or beep. That tells you it is working properly.
When you are ready to test, keep your hands behind the probe guards and never touch bare metal tips while power is on.
Test for Voltage at the Ceiling Fixture
Remove the light cover and bulbs so you can reach the wires. With the power still off at the breaker, pull the wires apart slightly so they are not touching each other or the metal box. Then turn the power back on at the breaker.
Carefully touch the black probe to the white neutral wire and the red probe to the black hot wire. A correct reading should show 110 to 125 volts. If you see zero volts, the breaker may be off, the switch may be faulty, or the wiring has a break. If you see a very low reading, you may have a poor connection or damaged wire. Once you finish testing, turn the power off again at the breaker.
Run a Continuity Test on the Light Fixture Itself
A continuity test tells you if the electrical path inside the fixture is intact. This test is done with the fixture disconnected from the house wires and with all bulbs removed. At Aaron’s Electrical Service, we often find that a failed continuity test points to a bad socket or broken internal wire. For related HVAC circuit services, our team also handles heating and cooling electrical connections.
Set your multimeter to continuity mode. Look for the symbol that looks like a sound wave. Touch the probes together. You should hear a beep, which confirms the meter is working.
For the neutral side: place one probe on the fixture’s white wire and touch the other probe to the threaded metal part inside each bulb socket. A beep means good continuity.
For the hot side: place one probe on the fixture’s black wire and touch the other probe to the small metal tab at the bottom of each socket. A beep here is good.
Also check for shorts. Place one probe on the hot wire and the other on the neutral wire. If you hear a beep, the wires are touching somewhere inside the fixture, which is dangerous. Also check each wire against the metal body of the fixture. Any beep means the fixture has internal damage and should not be used.
What the Readings Mean and When to Call a Professional
A reading of 110 to 125 volts at the wires means the wiring is getting power. The problem may be in the fixture or the wall switch. A reading of 0 volts means no power. Check the breaker, the switch, or wire connections. If you get no continuity in a socket, that socket is bad and needs replacement. If you find a short between the hot and neutral wires, the fixture is unsafe and you should replace it.
If your multimeter shows inconsistent readings, that often points to a loose wire nut or a corroded connection inside the junction box. Turn off the power again, then inspect each wire nut. Make sure no bare copper is exposed where it should not be. Re-tighten any loose connections with pliers. If you see black or green residue on the wires, that is corrosion. Corrosion adds resistance and creates heat. In that case, cut back the wire to fresh copper and re-strip it. We recommend replacing any wire that feels stiff or cracked.
Once you know how to test ceiling light wiring with a multimeter, you can decide whether a simple repair or a full replacement is needed. At Aaron’s Electrical Service, we have seen old, brittle wiring cause shorts and fire risks. If your home has outdated wiring, a professional inspection is the safest choice. For reliable circuit breaker repair and replacement, our team is here to help with any electrical upgrade.
FAQS
Can I test a ceiling light without touching live wires?
Yes. Use a non-contact voltage tester first. It beeps or lights up when held near a live wire. This keeps you safe while identifying hot wires.
What voltage should a standard ceiling light show?
In U.S. homes, a ceiling light circuit should read between 110 and 125 volts AC. Lower readings often mean a loose connection or a long wire run with resistance.
My multimeter shows 0 volts. What should I do?
First, make sure the breaker is on and the wall switch is in the on position. If both are on, check for loose wire connections inside the junction box. If everything looks fine, call an electrician.
Is it safe to replace a light fixture myself?
Only if you are comfortable turning off the breaker, verifying power is off, and making secure wire connections with wire nuts. If your home has old or damaged wiring, we recommend hiring a professional. At Aaron’s Electrical Service, we offer free inspections and honest advice.